Create, view, edit and delete Glossaries
Create, edit, and manage all the project terms with comprehensive glossaries. The fundamental goal of terminology management is to translate specialized terms that are frequently used - properly, consistently and effectively.
Create Glossary
To create a glossary, follow these steps:
- Log into your relevant Lingpad account and go to Organization Settings.
Go to Organization Settings
- Head to the 'Glossary' tab within Organization Settings.
Glossary tab
- Click 'Create Glossary'.
- In the slider that pops up - name your glossary, select term language and relevant target languages.
Add glossary details
- Click 'Create Glossary'.
Successfully created!
 Note 1: The term language i.e. source language should be same as the source language of your organization's projects. For example, if a project's source language is English US, then Glossaries with English US as the term language will only be applicable. Any glossary with 'English UK' or 'English' as the term language will not be applicable for that relevant project.
 Note 2: It is mandatory to add atleast one Target language. More target languages can be added in the future.
Note: If you have a Glossary with 'English - United States' as the Term Language, you will not be able to create another Glossary with 'English - United States' as the Term Language. You can only add the new target languages to the existing glossary.
We will cover how to add terms to your Glossary in the 'Manage Glossaries' article.
View Glossary
If you wish to see the entire list of languages, click on the language abbreviations to see all languages associated with the relevant glossary.
Edit Glossary
To edit glossary, click on the three dots in the right corner and click 'Edit'.
The following parameters can be edited:
- Glossary Name
- Target languages can be added or removed
Note: During the edit, if any target language is deleted, all associated terms will be deleted.
Note: Term Language i.e. the primary language of your Glossary cannot be edited.
Delete Glossary
You can delete single or multiple glossaries from the glossary dashboard.
Note: If you delete a glossary, all the associated terms will be permanently lost.
Single deletion:
Click on the three dots in the right corner and click 'Delete' to delete the individual glossary. 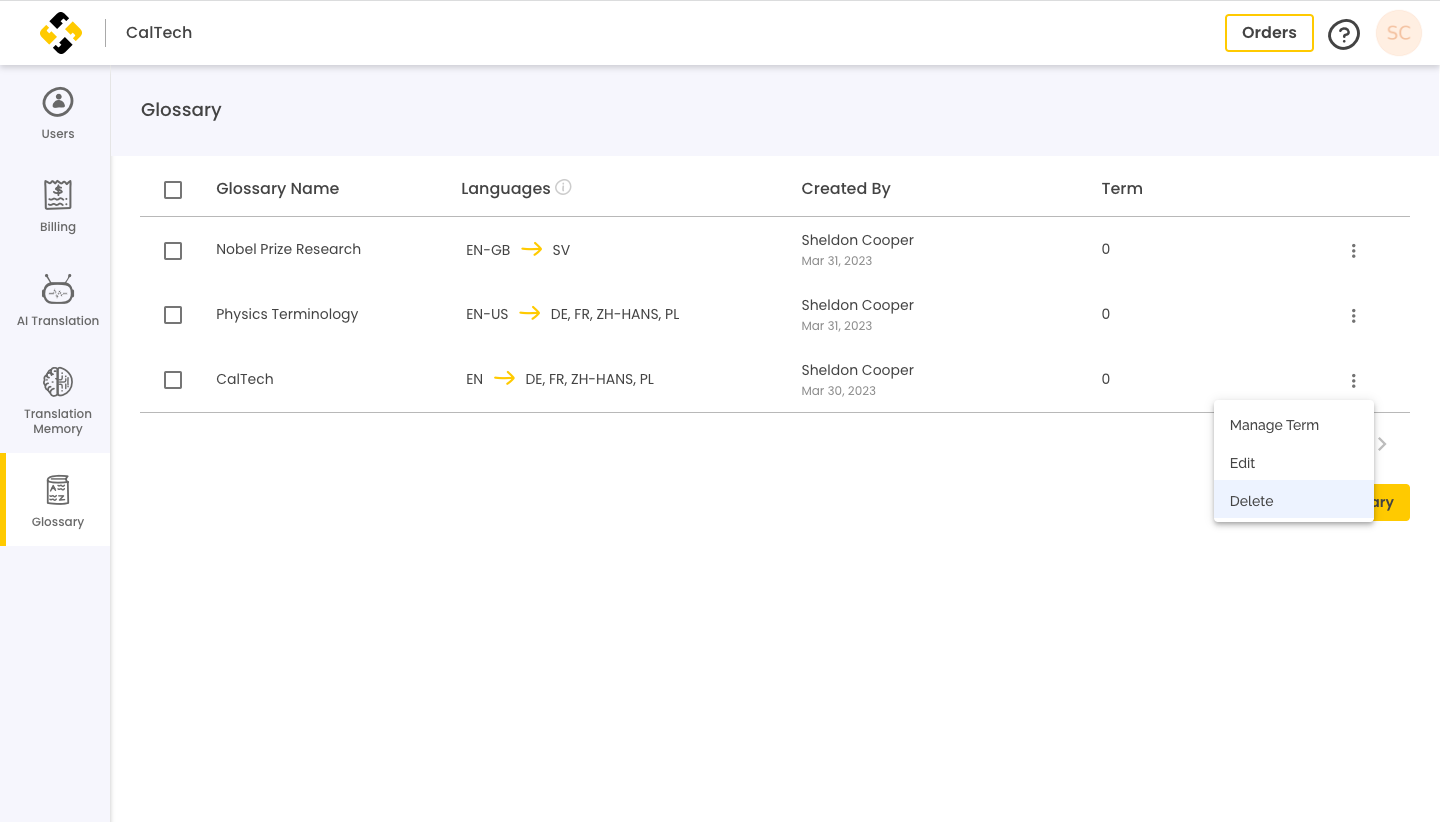 Single deletion of glossary
Multiple deletion:
Select all the glossaries you wish to delete, and click 'Delete Selection' at the bottom. 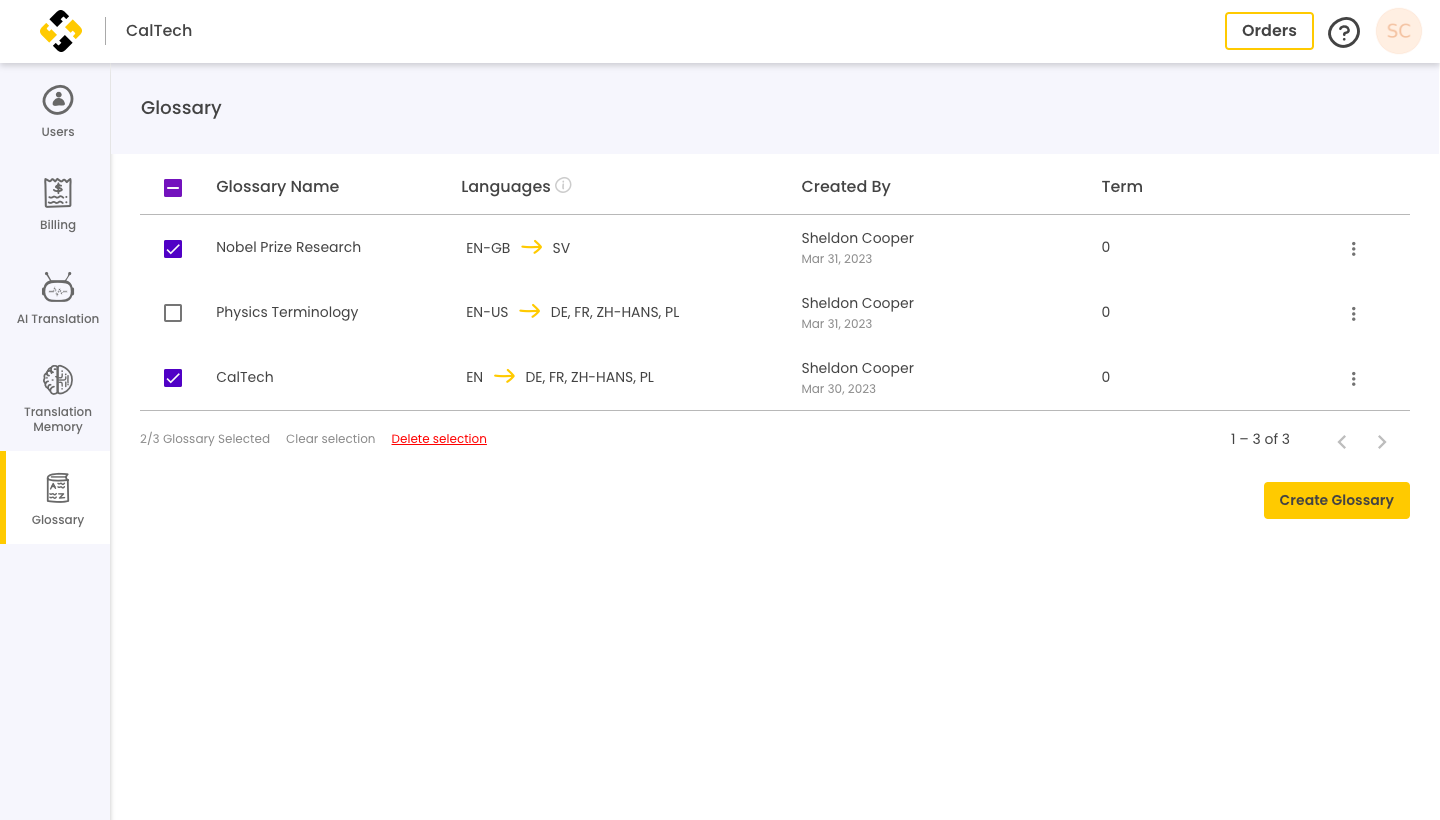 Glossaries - multiple deletion
Related Articles
Creating and managing spaces
When you log into Lingpad, you will be asked which organization you would like to enter. If it is your first time logging in, you will only be able to enter the organization or company that you mentioned in the sign-up form. This will lead you to the ...Manage Glossaries
Now that you have created a Glossary, the next step is to add relevant terms to it. Add Glossary Terms To add terms to the created glossary, click on the three dots in the right corner. Click 'Manage Term'. Manage Term To add industry or ...How to Create Freshdesk Support Translation Project on Lingpad
The previous article explained, how you can get started and install the Lingpad app from the Freshdesk Marketplace. Now, let's understand how to create an integration project for Freshdesk Support ticket translations: Video Tutorial: How to Integrate ...How to Create a Freshchat Translation Integration Project on Lingpad
Now that you have downloaded the Lingpad app for Freshchat, let's get to know how you can create a project for translation of your Freshchat live chats. Video Tutorial How to Integrate Freshchat Live Chat with Lingpad 1. After installing the Lingpad ...How to Add Users in Lingpad for Help Center Integration Projects
We already explained that Lingpad admins can add different types of new users and assign them different roles. Now, let's get to know how you can add new users for individual integration projects or at the organization level: Video Tutorial: Adding ...